Tuesday, September 16, 2014

That's MY Parking Space! or One Way I Mix my Media

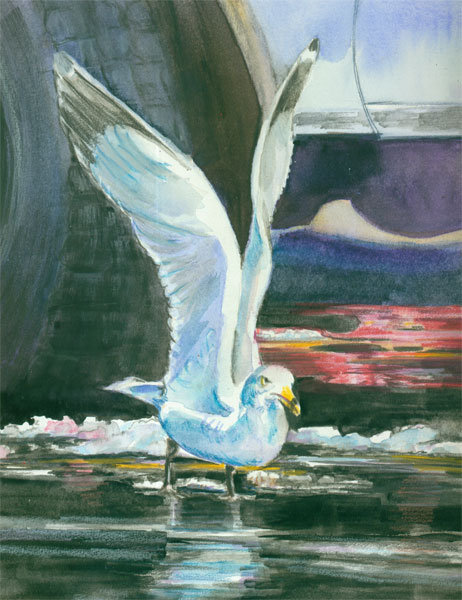
That's MY Parking Space

This post is about one way I mix my media.
“That's MY Parking Space!” Is painted from yet another one of Frank's wonderful photos. This one was shot in a parking lot of landlocked Russellville, KY.
It's painted with a mix of traditional tube watercolor, along with watercolor pencils and Prisma wax colored pencils. It measures 10 x 13 inches on watercolor board.

I started with watercolor washes, using a mix of indigo, and purple for the underpainting of the tire and some pavement. I carefully “outlined” the gull's wings with my initial wetting of the dark spaces I wanted to fill. A lot of time this is all you need to reserve watercolor whites.
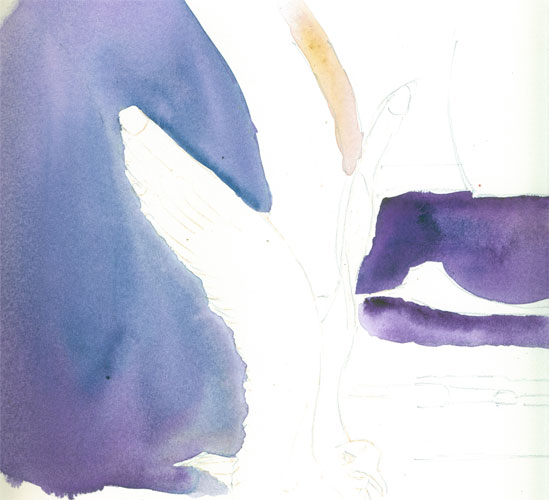

I followed this first wash up with some general outlining of details with a dark grey watercolor pencil, so's the line could be “washed away” with my next watercolor layer. I then laid in the pale blue for the car door. After that I laid in the deep shadow of the wheel well, using a complementary brown umber. (Umber is basically a realllllly dark yellow, which is opposite on the colour wheel of the color purple.....equals a dulling, greying of the shadow without using black.
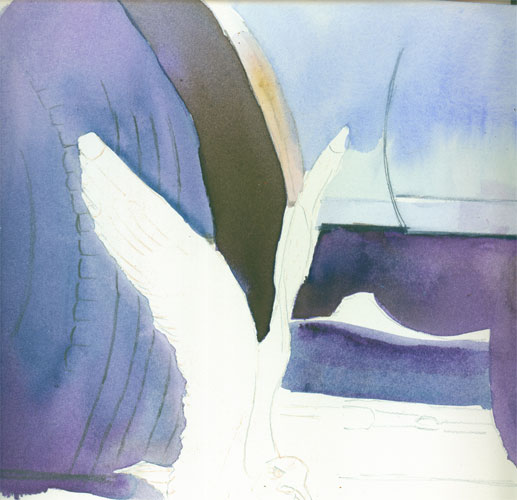


After that I worked on the gull itself. I'd left a good portion of the gull with just the white of the paper. But I choose to “outline” the left edge of the gulls feathers with a white Prismacolor wax pencil. The wax in the colored pencil can act as a “resist” to the watercolor wash. I also outlined the white outline in a black watercolor pencil to which I then added a bit of water to “pull” the black back out into the tire form. This let me safely refine the white feathers against the black of the tire. I learned this trick from Paint Radiant Realism by Sueellen Ross. She has a lot of cool tips to mix your media.
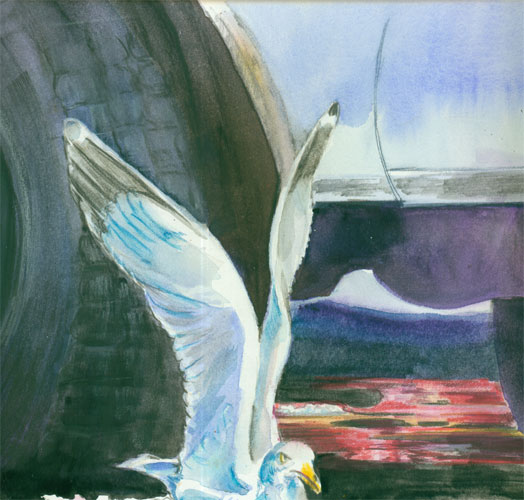

I went on to model the gull with light cool blues, using colored pencils to define some of the wing forms. I finished off the tire with lightened tire tracks in Prismas. I laid in the background reflected reds with more colored pencils, so's I could have total control of where the color went. I finally used a “Peach Black” from Holbein that I've found to be very nice for a true black that isn't too harsh. In most nature paintings I never use black, preferring instead to use combination of washes to get a more “natural” looking dark color. But in this case, since I was painting asphalt.....I went with a “un-natural” black.

And this is the finished painting:


Tuesday, September 2, 2014

Drunk on Color


OK.....my name is Alison and I admit it.....I'm a Color-oholic. There I've said it!

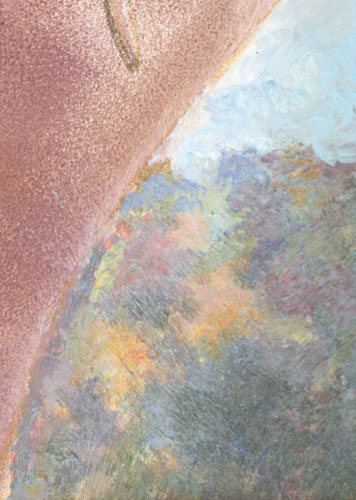
My story is, I recently got a bit-o-time in between projects....and I decided to try some color experimentations with a current painting. The design called for some far away foliage in the lower background.
I had long had in the back of my mind a color explanation/experiment I'd seen in a book  ages ago. I dug out the book from my stash, and based on the points I'd read I tried this:

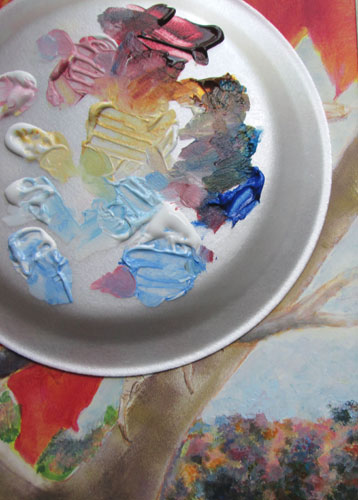
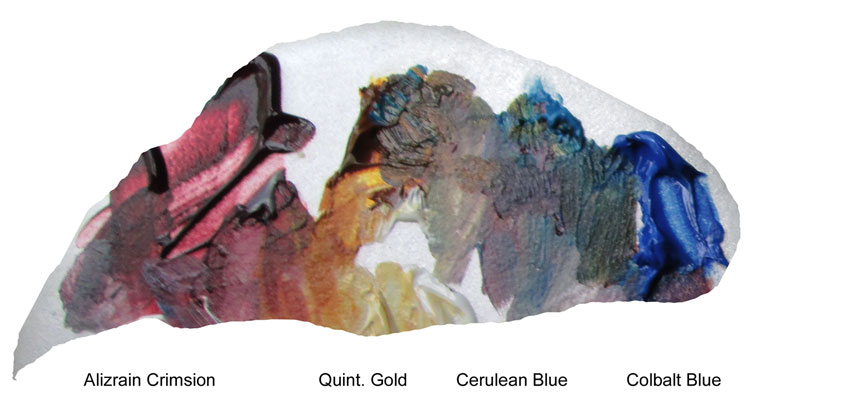
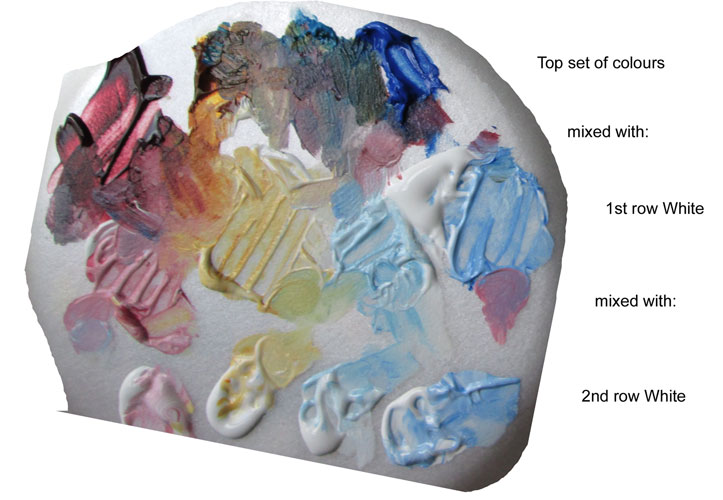
I squeezed out a bit of alizarin crimson, cobalt blue, cerulean and quinacridone gold.....i.e. A cool red, medium blue, greenish blue and a yellow. I then squeezed out a bit of white for all four colours, and mixed the colors with the white.


Then I did it one more time. The article I was working with said to do it for five piles of colour, but since I am working with fast drying acrylics in this case, instead of oils.....I stuck to the abridged version.

After I had my colours set out.....and in the beginning they were in nice organized piles! I proceeded to play. And the first thing out I found I needed a green for bits of the far away foliage. So's I immediately pulled together the cerulean blue piles and the gold piles.....and viola I had a green.


Then I needed a purple, and mixing the alizarin with both the blues gave me both a dullish violet (alizrain +cerulean = dullish violet 'cause the cerulean leans towards green which means it's automatically got a bit of yellow in its composition. And we all know yellow is the complimentary of violet which equals instant greying of the violet's intensity).....and a vivid violet (alizarin + cobalt = vivid violet 'cause cobalt and alizarin both lean towards the purple side of the spectrum and no yellow or warm color involved so no complimentary dulling)

After a lotta messing around, I started painting with leetle dabs of paint here and there following my photo reference. And I thought I could stop doing this “pointillist” type painting in spots of color......but I found I couldn't just stop at one bit of color here......I had to smudge it, then I found I needed a bit of it's compliment just beside it.....and I couldn't stop!


But of course, since I'm typing this blog post.......I DID step away from the palette....I CAN stop with colours.....I can......Oh wait! Is that a tube of Phthalo Blue? I wonder what that would look like on........

To be continued.......... 

Friday, July 11, 2014

Illustrators, Writers and the Needle Arts They Love


This bitty blog post is a "step further" of a blog post “Spinning Yarns” http://yaoutsidethelines.blogspot.com/ by a dear friend, Tracy Barrett. She is an accomplished young adult author who is also a knitting enthusiast. Her blog post lists some of the similarities between writing and knitting. After reading it, I thought I might carry it a step further, and list a few of my thoughts on similarities between illustrating, writing and the needle arts many of us love.

No matter the discipline, (illustrating, writing, knitting, crocheting etc) anyone that engages in such pursuits is creating something that did not exist before.

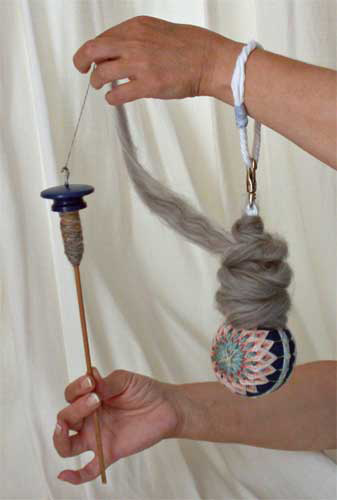
Whether it is spinning yarn out of sheep's wool,


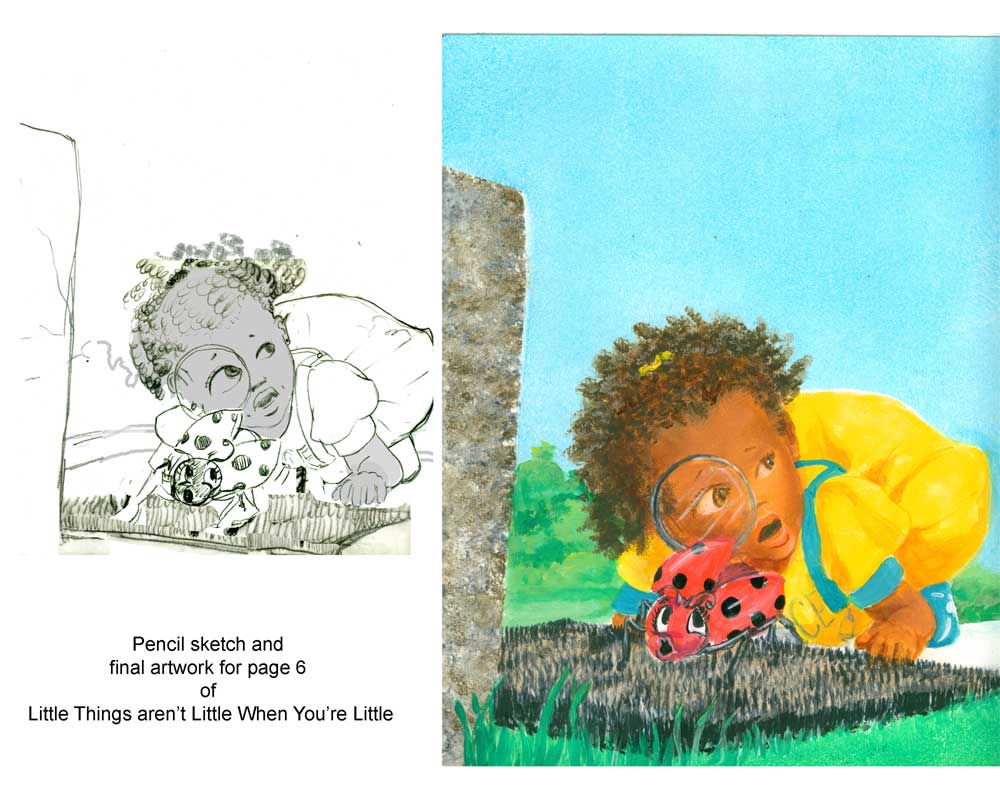
or writing a manuscript that I can illustrate,


we are creating something from our own imagination......


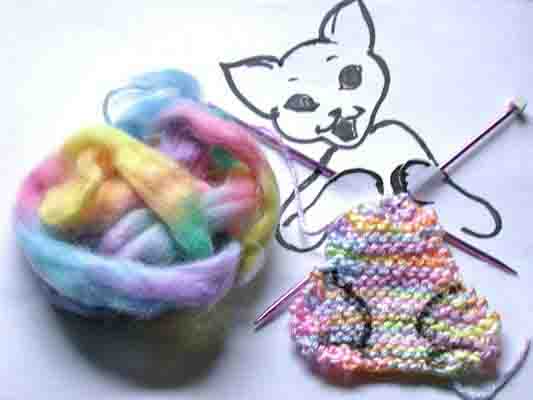
Little Knittin' KItteh

or “knitting an idea into being”.

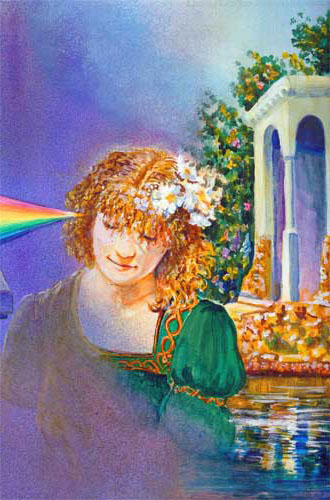
Whether we use simile: “Her imagination came to life.......just like she was really there “


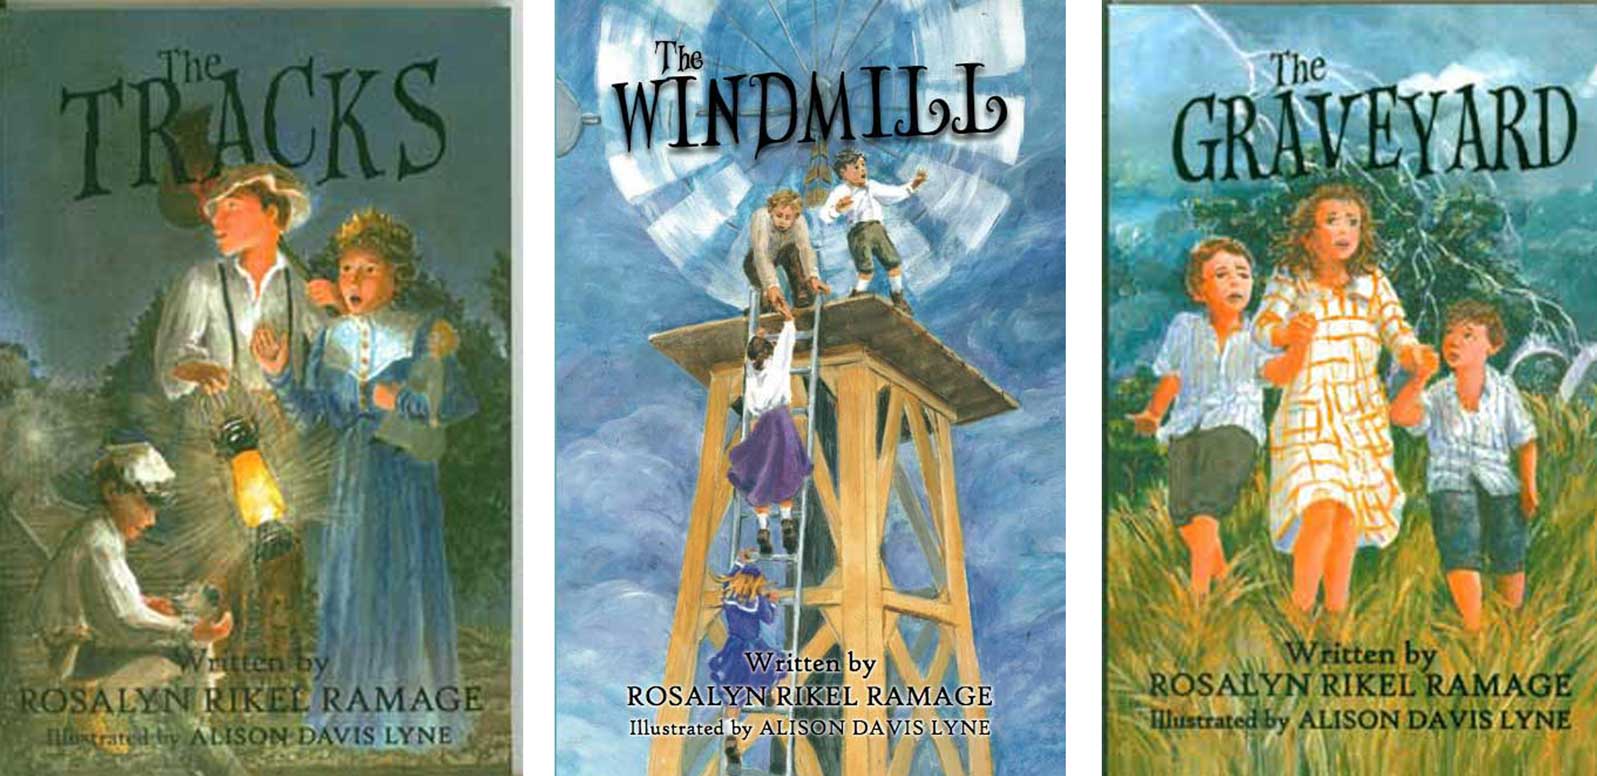
or color/setting consistency (like this series of book covers)


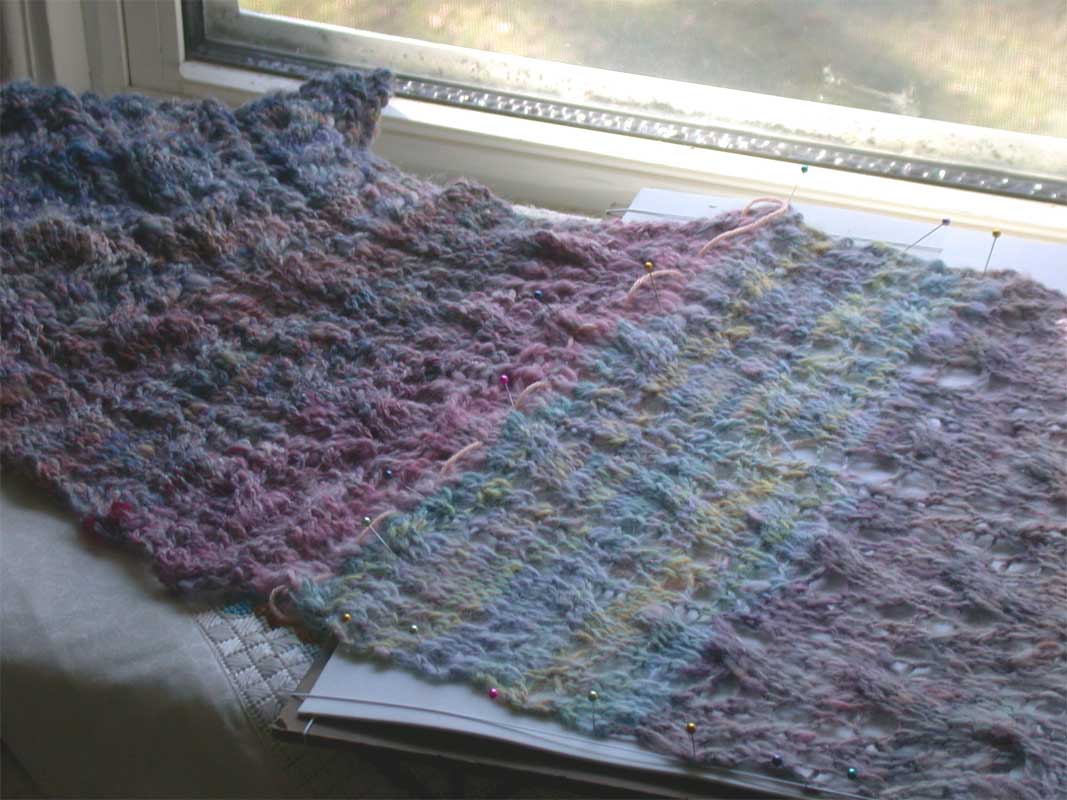
or a knitting pattern repeat,


we are saying that this is like that, and" that" makes a pattern, and tells part of a story.

I've always thought that writing, illustrating, knitting et al, are all parts of a story of creating.....no matter the medium you work in,........no matter the discipline that you follow, it's all making something!


Wednesday, July 2, 2014

Art on display at Logan County Library during month of July

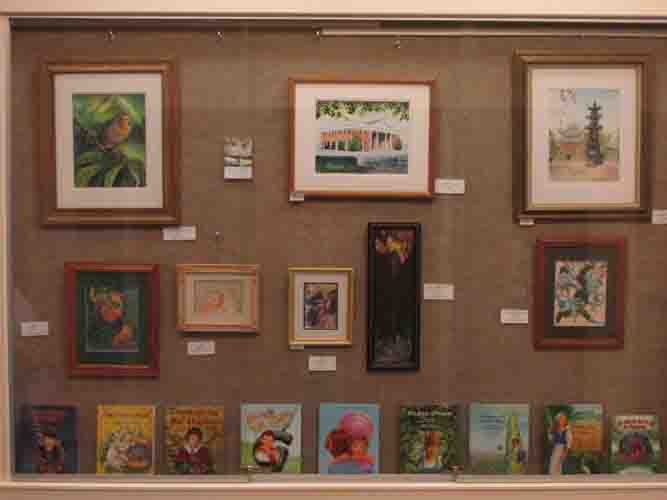
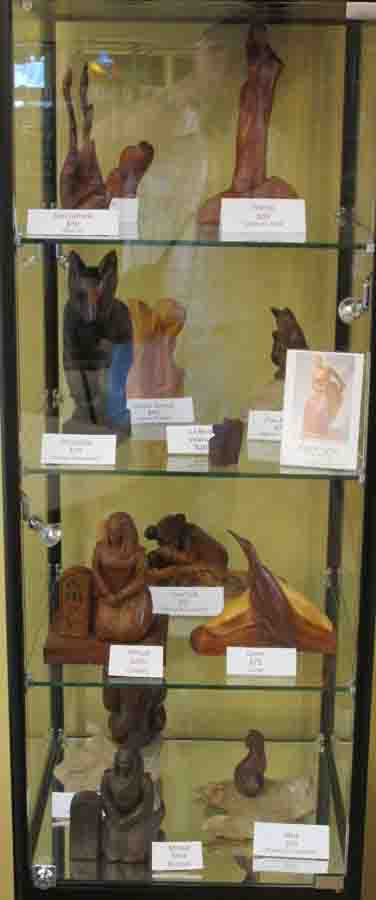
These pics are of Frank and my artwork currently on display at the Logan County Library in Russellville, KY.  They will be there through out July.

My paintings and select list of my published illustrated children's picture books are located in the foyer of the new library building, in a lovely display case.  You can see full size images of the artworks, by going to our website and clicking on the various pages that show a particular image you might be interested in.  The same holds true for Frank's sculptures.


Art show at Logan County Library

Frank's sculptures are located inside the building, by the newspaper reading chairs,  in a beautiful display case.....


Frank's sculptures at Logan County Library

If you haven't already, please stop by and see the lovely new library building, and while you're there take a look at our artwork too!

Thanks SO much to all the kind folks at the library for their help......and just for being such all round nice people!


Saturday, June 14, 2014

Talk at Customs House Museum in Clarksville, TN on June 22nd 2014 2-3 pm


This blog post is to invite y'all to stop by the Customs House Museum in Clarksville, TN on June 22nd at 2 p.m. To join me for a talk about children's book illustration: Draw Me A Story. It is in conjunction with the Customs House Museum display all about The Wizard of Oz. 
 The talk is open to the public just for the entry fee to the Museum.
You can see more about the Museum   here:  http://customshousemuseum.org/  and more about the lovely interactive Wizard of Oz exhibit here:  http://customshousemuseum.org/temporary-exhibits/the-wonderful-wizard-of-oz

I plan tell a bit about my journey thru a little slice of the children's book publishing world. To go along with that I'm posting here a list of websites that I've found most helpful:


Society for Children's Book Writers and Illustrators http://www.scbwi.org/

Midsouth chapter of SCBWI http://midsouth.scbwi.org/

Predator and Editors website to find out about companies http://pred-ed.com/

Articles about the business of writing/illustrating http://www.underdown.org/

You can find these books and magazines at bookstores or online:
For Children's Writer's & Illustrator's Market books http://www.writersdigest.com/
For 2014 copy:


For the Writer Magazine http://www.writermag.com/

For Highlights Magazine info https://www.highlights.com/

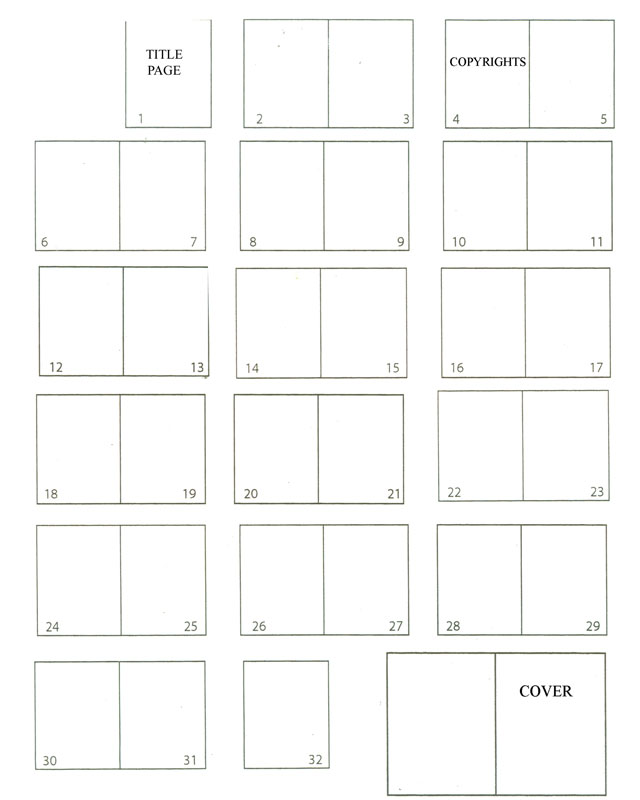
During my talk I discuss the importance of laying out your ideas for both the verbal and visual portions of a children's book. To help in that I'm posting a version of a “book chart” used for a 32 page children's book.


Y'all come!


Tuesday, June 10, 2014

Doing With Out the Lines: A bit about my current illustration techniques


This blog post shares a bit about my current illustration techniques when I'm illustrating a 32 page color picture book.

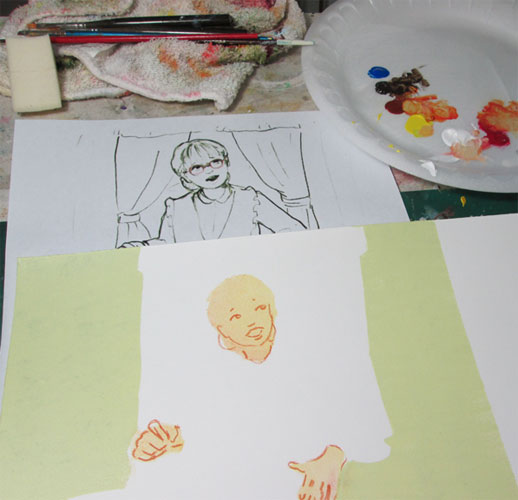
At this point, my sketches are finalized and I'm ready to paint. I usually do pretty “tight” sketches, (meaning I give enough details in my sketches for the AD to see pretty much all I intend to paint), so at this point there's not to much to adjust.

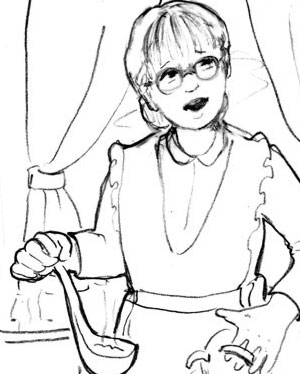
For instance, in this detail of a page in my current WIP, I have a nice face and hands sketched out for the “mother” character. I take this black and white sketch (after enhancing the dark lines) and print it out (in multiple copies) on a regular piece of paper.


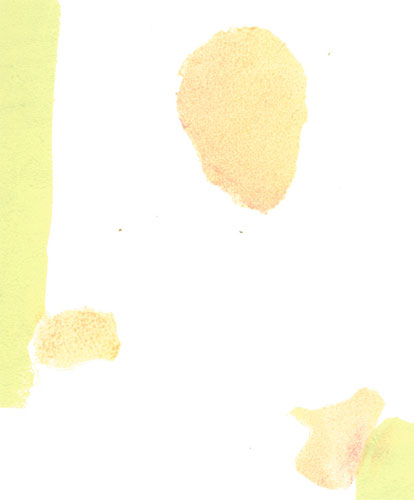
On one of the printed copies,I cut out various main elements of the drawing.....in this case the figure's head and hands. Using this as a stencil, I lay in a light acrylic glaze in the broad stretch of the head/hands. I “cut and repeat” with each of the main elements of the drawing. This is similar to what digital artists do.....laying in different color layers....bounded by a fill line for the selected color.
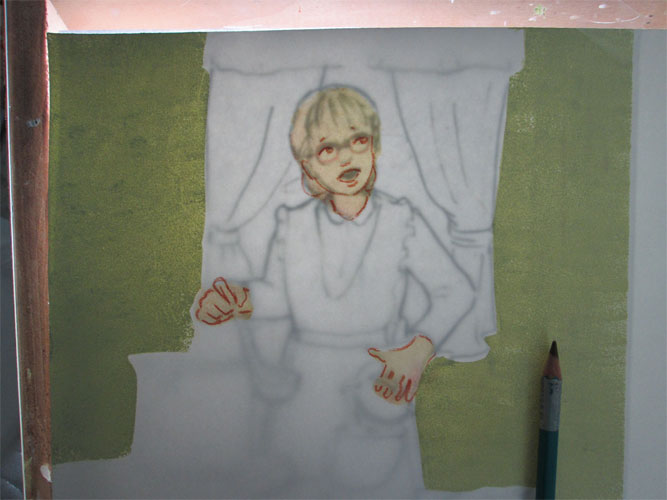
After the glaze is dry, (about 15 minutes or so) I will remove the stencil and using the light box light coming thru the black and white drawing, the bristol board, and the colored glaze, I will lightly sketch in the main features of the head and hands. I use a watercolor pencil for this step, as it will easily erase as I proceed to paint in the face.


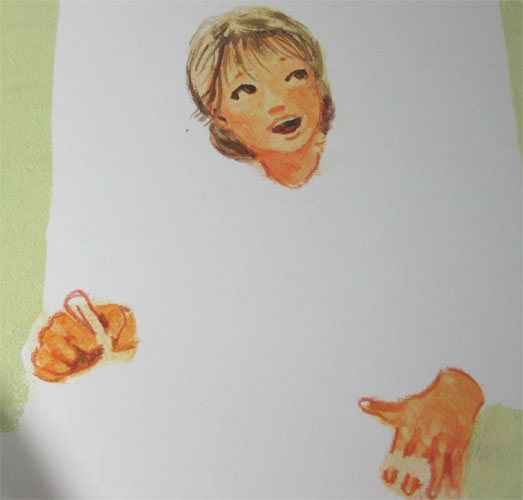
Now I remove the board from the light box, and start painting from the right side, using the watercolor pencil lines for guides. I start painting in the features of the head, using light glazes to build up the face. I use brushes, sponges and finger tips to get the look I'm going for. 


I will do more to the face and hands after I've put in the other surrounding components of the scene. Here's how it looks after the first color pass.


After this I will lay in more of the components of the page in the same fashion.


Wednesday, June 4, 2014

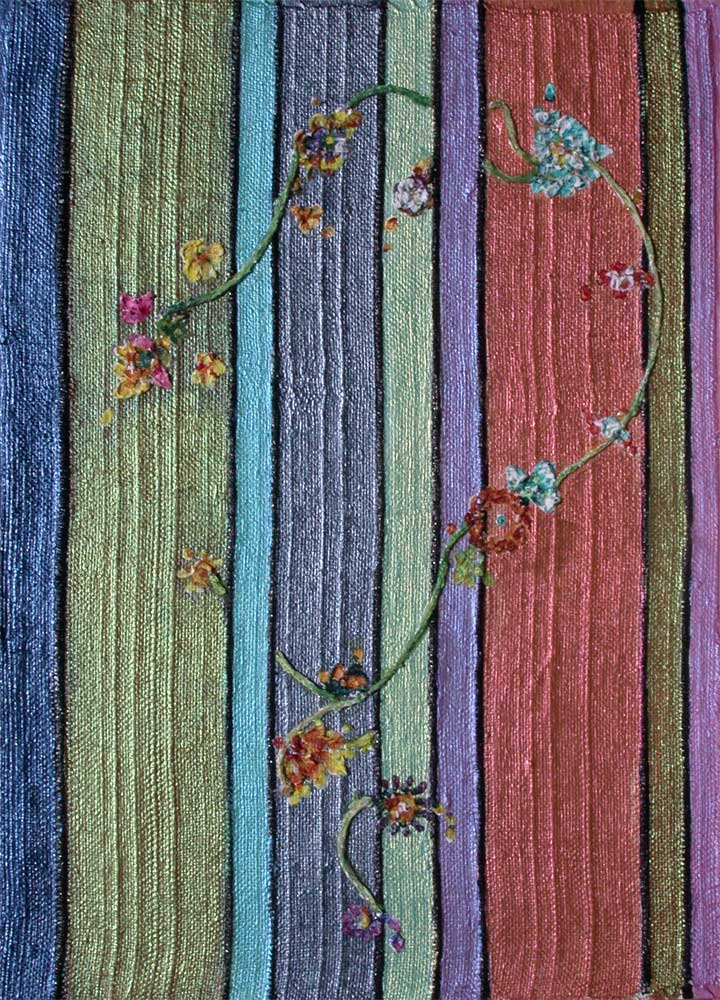
A Question of Stripes; Part Deux


A Question of Stripes
16 x 20 inches 
acrylic on cloth on masonite

This blog post is to show off a recent painting and to tell a bit about it's “second chance”
A while back I did an experimental painting called A Question of Stripes. At the time I painted it, I called it “finished”. But I never did feel that it was quite “done”, but other illustration work intruded.


At the first of this year I had a bit of a lull in my illustration work, so I came back to this piece. I decided that it needed a figure......but I had a bit of a problem.....”bumps”. The painting had been done over some linen material, with woven ridges in the cloth. These ridges were great for texture and breaking up the colored stripes.....but would be murder to paint a figure over.


So instead of doing away with a section of stripes for a proposed figure.....I decided to elevate some of the painting surface to accommodate a figure. I drew my figure and decided to have her interact with the background lines.....as I'd done for the flowered question mark.

I slowly built up layers with Golden Gel Medium, in the outline of the girl in the striped dress. After it reached the level of the black line I was building it over.....I painted the gel medium with a layer of gesso. I now had the figure base all laid in and ready to paint. I painted the girl with acrylic glazes and I was now REALLY finished with this piece.


was lucky enough to have A Question of Stripes juried into the Customs House Museum's National Juried Exhibition: Figuratively Speaking ......on display May 8-July 13, 2014. The Customs House Museum is in Clarksville, TN.