

WINTER GLOW
16 x 20 inches watercolour
This
blog post has a winter theme, now that it's like about 85 degrees
out. I couldn't seem to get to this painting until I'd thawed out
from the winter chill, which was when the reference photo had been
taken.
I'd
recently been looking at some old painting books and decided to try
out some of the techniques they suggested. A couple of watercolour
books by Roland Roycraft especially caught my eye, “Fill Your
Watercolors with Nature's Light” and “Fill Your Watercolors with
Light and Color”. They featured a lot of snow scenes, and low and
behold, I just happened to have a LOT of snow photos. I pulled up a
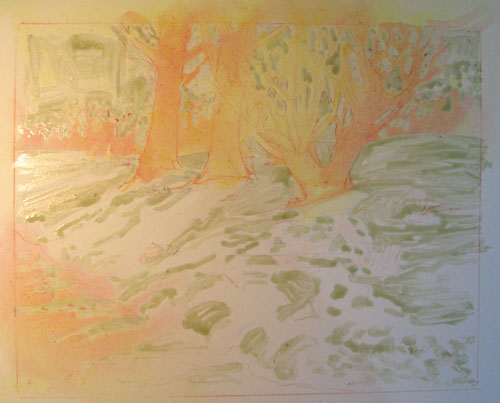
shot of late afternoon snow and trees and began the set up. I lightly
sketched in the trees with a watercolor pencil on a Crescent
watercolor board, a very thick board covered with a medium smooth
watercolor paper. Following Roland Roycraft's general technique I
outlined the trees and the main foreground shadows with a liner
misket covering the snow areas. Then I started to have fun.
His
technique called for three successive watercolor washes to establish
a sunlit glow. And I'm talking real washes! I mixed up three deep
wells in a discarded plastic ice cube tray, one of lemon yellow,
another of rose madder genuine, and a third one of cobalt blue. I
sprayed water over the whole board to give the watercolor places to
run and make the “glow” I was after.
I first
poured the yellow on the tree shapes and foreground water, and let it
dry a bit then poured on the rose madder genuine and let them both
dry completely.
After
those two washes were dry and room temp to the touch, I poured on the
cobalt blue wash, and encouraged it to run on the trees and the
foreground shadows. I also poured over the entire water area on the
left, and a bit in the background trees. I then direct brushed some
deeper blues, prussian, indigo,phthalo blue on the tree trunks and
shadowed water areas. When most of the water had dried I direct
brushed some burnt umber on the tree trunks only. THEN I let
everything dry overnight.
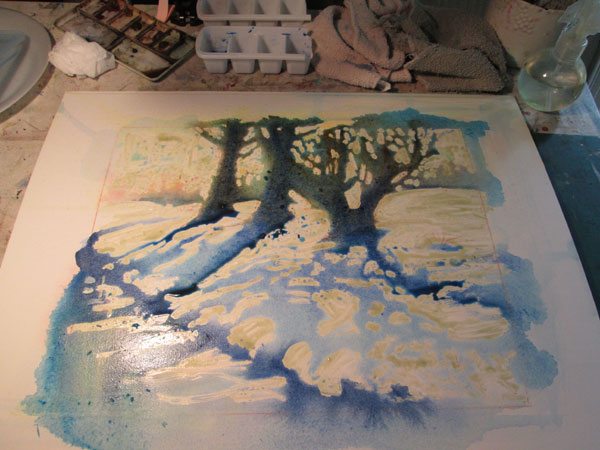
The next
day, I pulled off most of the misket and reapplied a bit more on the
background trees and the foreground branches, and reapplied some more
blues. After this dried I “lifted” (wet stiff brush over the
darkest colors) some lighter tree trunk areas on the right hand
tree/bush area, leaving the background darks for other branches.

All that
remained was adjusting the different shadows, rubbing some out, and
adding more shadows where needed.
I'd also
used this technique for Jeeves the Glamour shot......
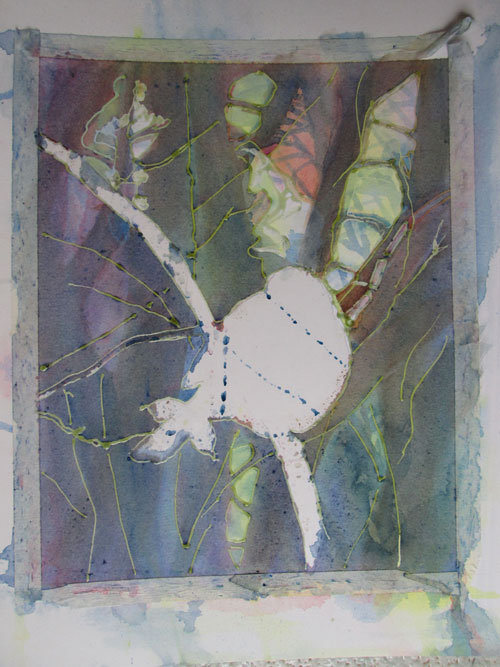
where
I'd misketed over the bird outline then poured on the background tree
trunks and branches.

This is
a really fun technique and I anticipate exploring it further!
No comments:
Post a Comment