This
blog post shares a bit about my current illustration techniques when
I'm illustrating a 32 page color picture book.
At this
point, my sketches are finalized and I'm ready to paint. I usually
do pretty “tight” sketches, (meaning I give enough details in my
sketches for the AD to see pretty much all I intend to paint), so at
this point there's not to much to adjust.
For
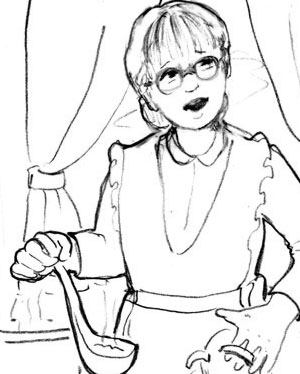
instance, in this detail of a page in my current WIP, I have a nice
face and hands sketched out for the “mother” character. I take
this black and white sketch (after enhancing the dark lines) and
print it out (in multiple copies) on a regular piece of paper.
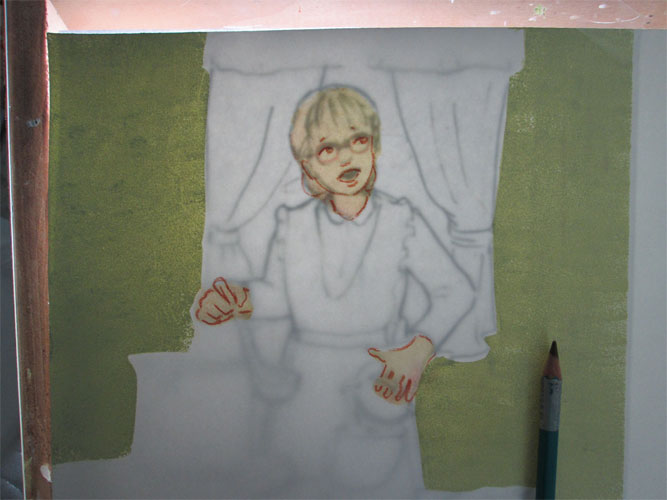
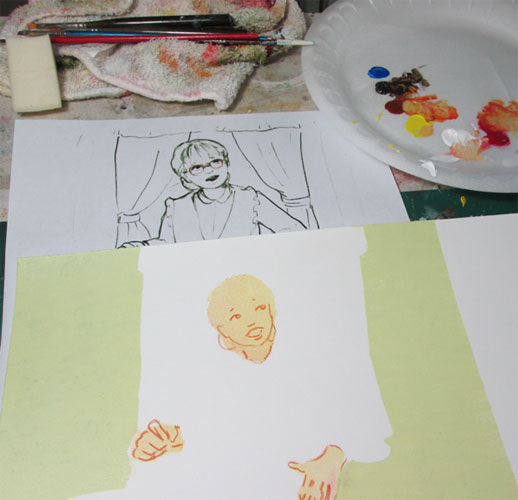
On one
of the printed copies,I cut out various main elements of the
drawing.....in this case the figure's head and hands. Using this as a
stencil, I lay in a light acrylic glaze in the broad stretch of the
head/hands. I “cut and repeat” with each of the main elements of
the drawing. This is similar to what digital artists do.....laying in
different color layers....bounded by a fill line for the selected
color.
After the
glaze is dry, (about 15 minutes or so) I will remove the stencil and
using the light box light coming thru the black and white drawing,
the bristol board, and the colored glaze, I will lightly sketch in
the main features of the head and hands. I use a watercolor pencil
for this step, as it will easily erase as I proceed to paint in the
face.
Now I
remove the board from the light box, and start painting from the
right side, using the watercolor pencil lines for guides. I start
painting in the features of the head, using light glazes to build up
the face. I use brushes, sponges and finger tips to get the look I'm
going for.
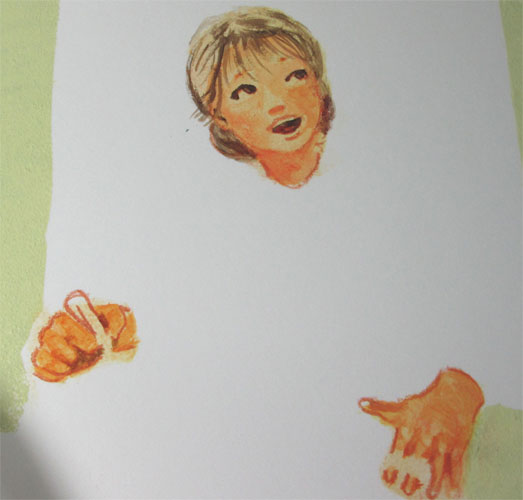
I will
do more to the face and hands after I've put in the other surrounding
components of the scene. Here's how it looks after the first color
pass.
After this I will lay in more of the components of the page in the same fashion.


No comments:
Post a Comment